This is a custom rug, of course, and required a fair bit of manipulation to complete a design that I was interested in and would work with the fabric choices I made before the design (fabric focused, I buy what I like and then figure out what I can do with it).
The design took the majority of the time. Figuring out how best to use the different yardage I had available in different colors to put together a design that would work. Plus, I need to do panels, as the rug needed to be 55″ (or thereabouts) wide. My loom is 40″ max. And we all know that draw-in will reduce that to anywhere from 37 to 38.
I decided on three panels, and then figured out I didn’t want the same design on each as I’m not a great measurer and was pretty sure getting everything to match up was headache inducing. Instead, I decided on a “box” around a central design. That way the center panel is about 9″ on top and bottom of the box edges and then run two 9-10 inch panels up the side to bring it all together. Now the only concern is lining up the top and bottom sections. I measured them pretty aggressively, so I’m hoping that’s not too bad.
Of course I’m concerned that the whole thing won’t line up, but I’m used to that from knitting, and I’ll figure something out, I hope. Or have three separate rugs???
Long story short, the center panel is done! I decided on just doing the gold and blue (see previous post for colors) in a wave pattern for the box and then just used the grey and cream as dividers between the rose path. I think it turned out well:
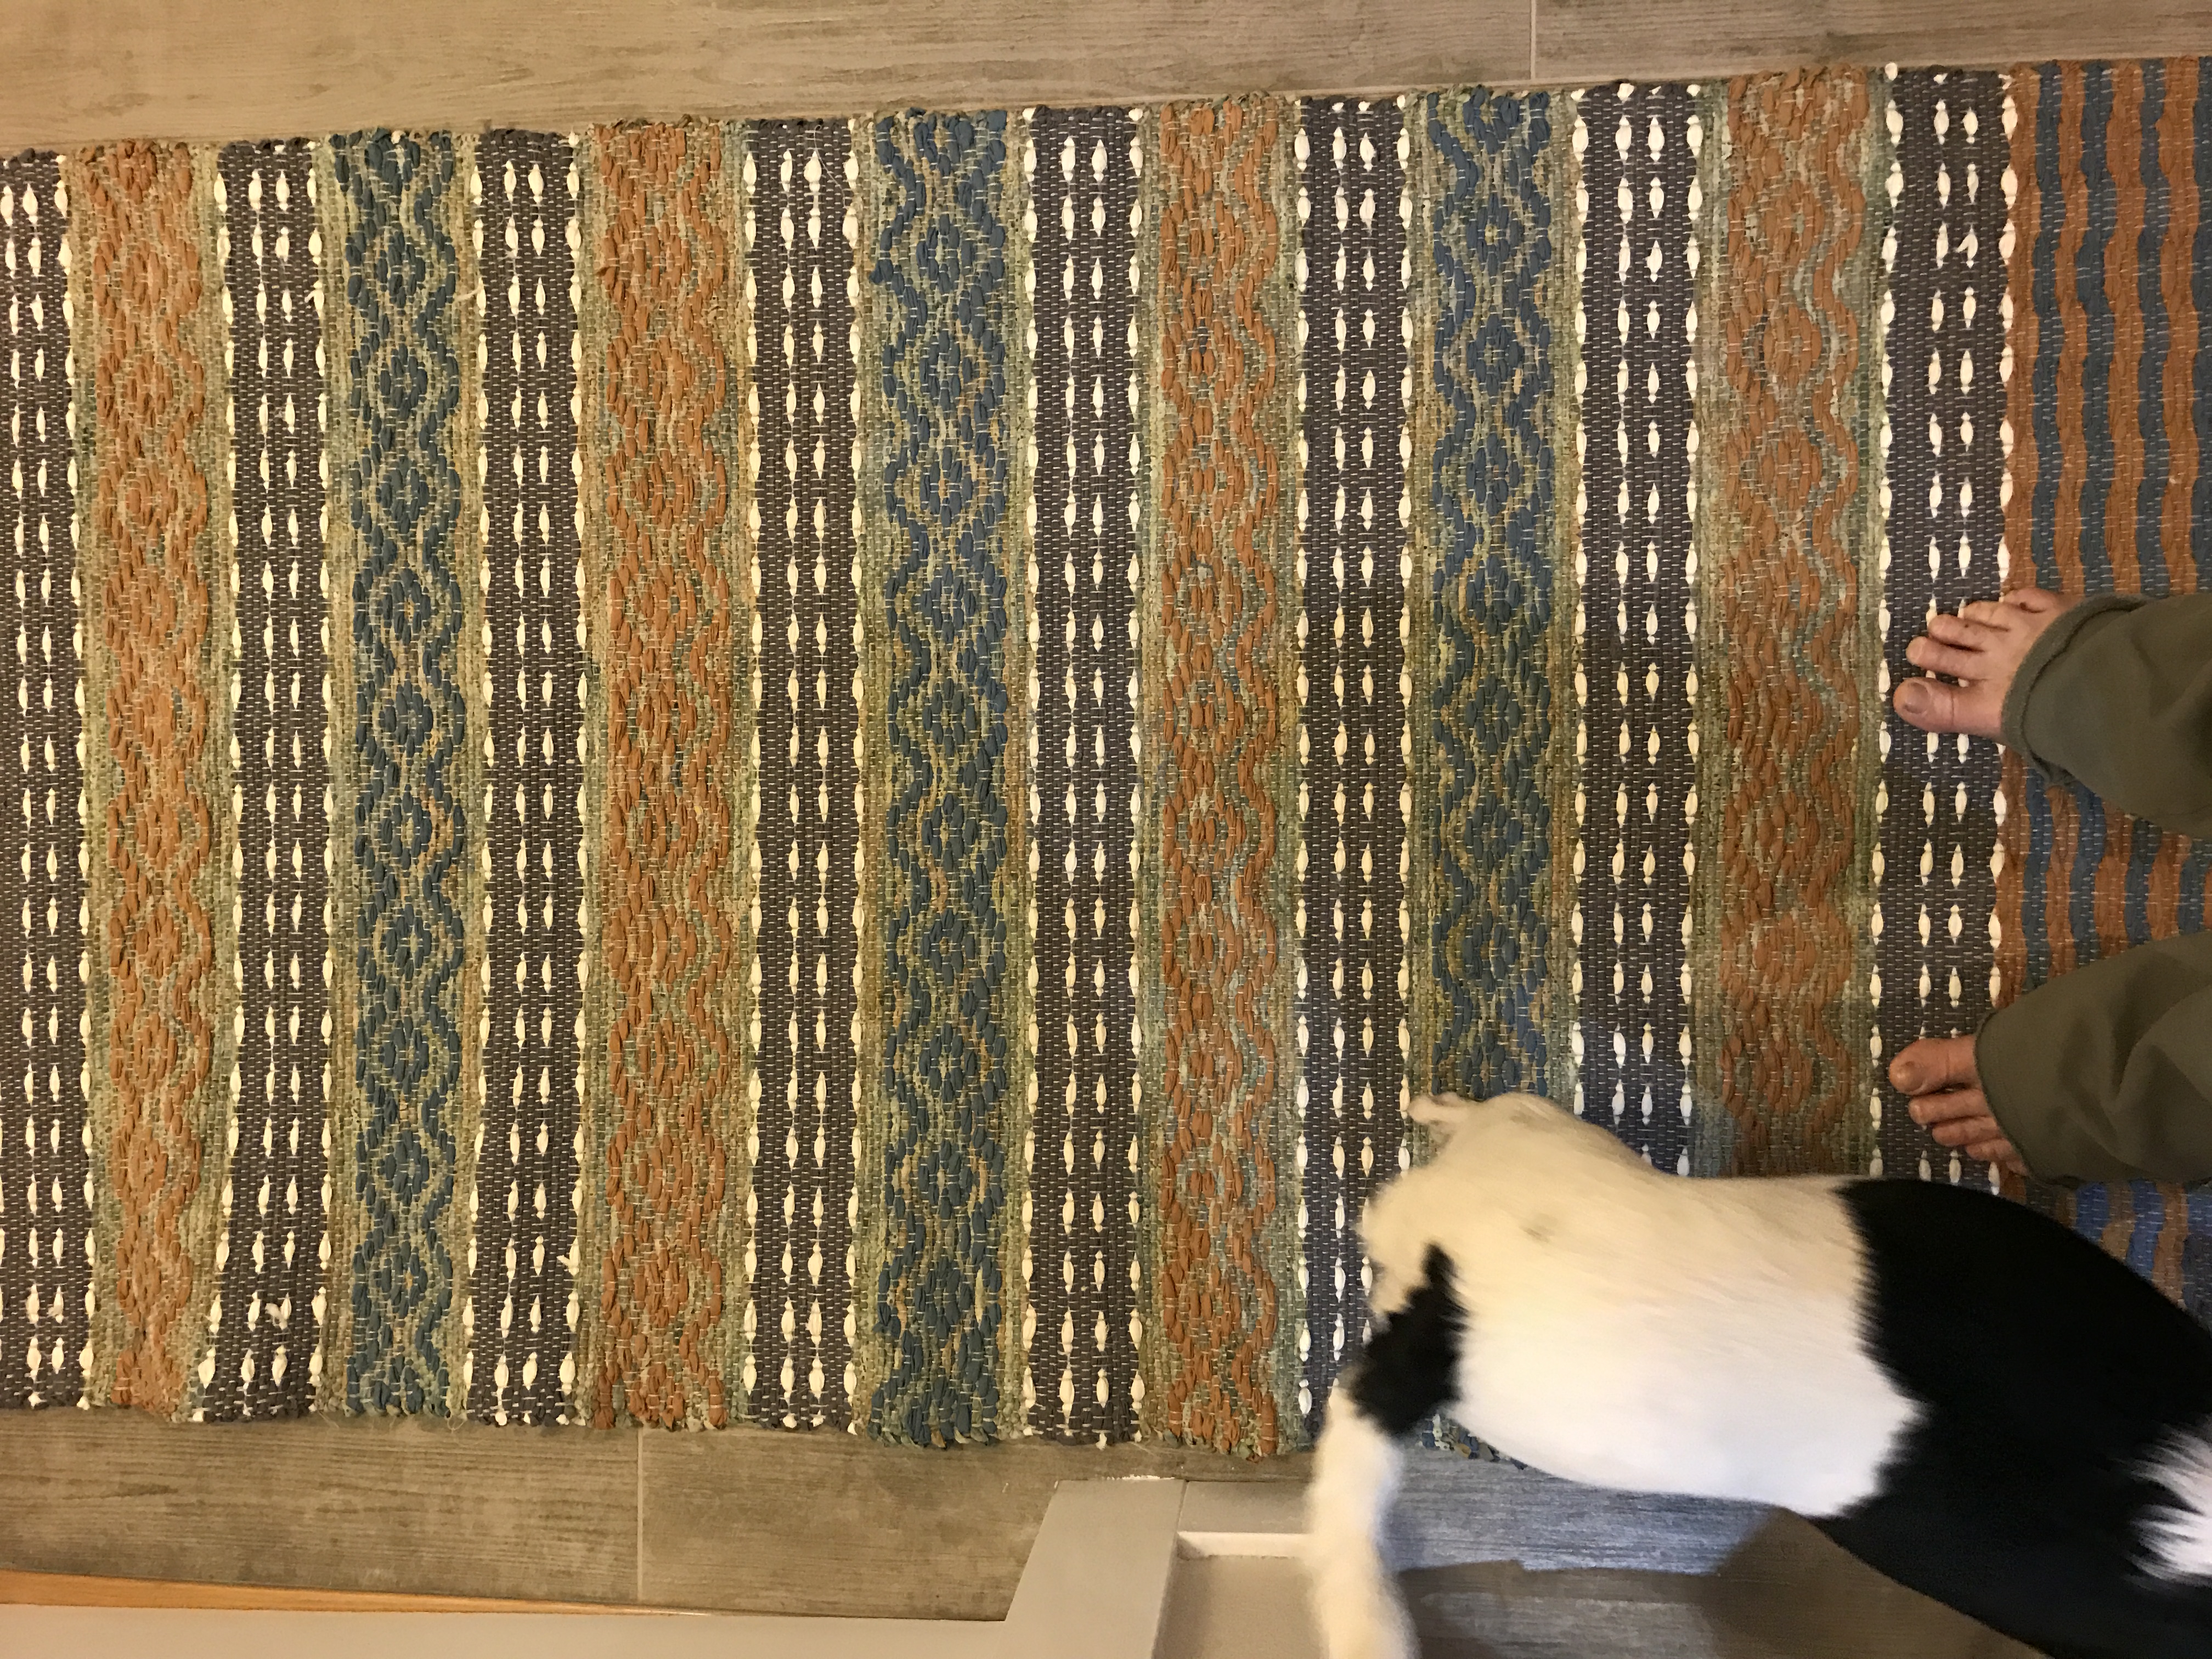
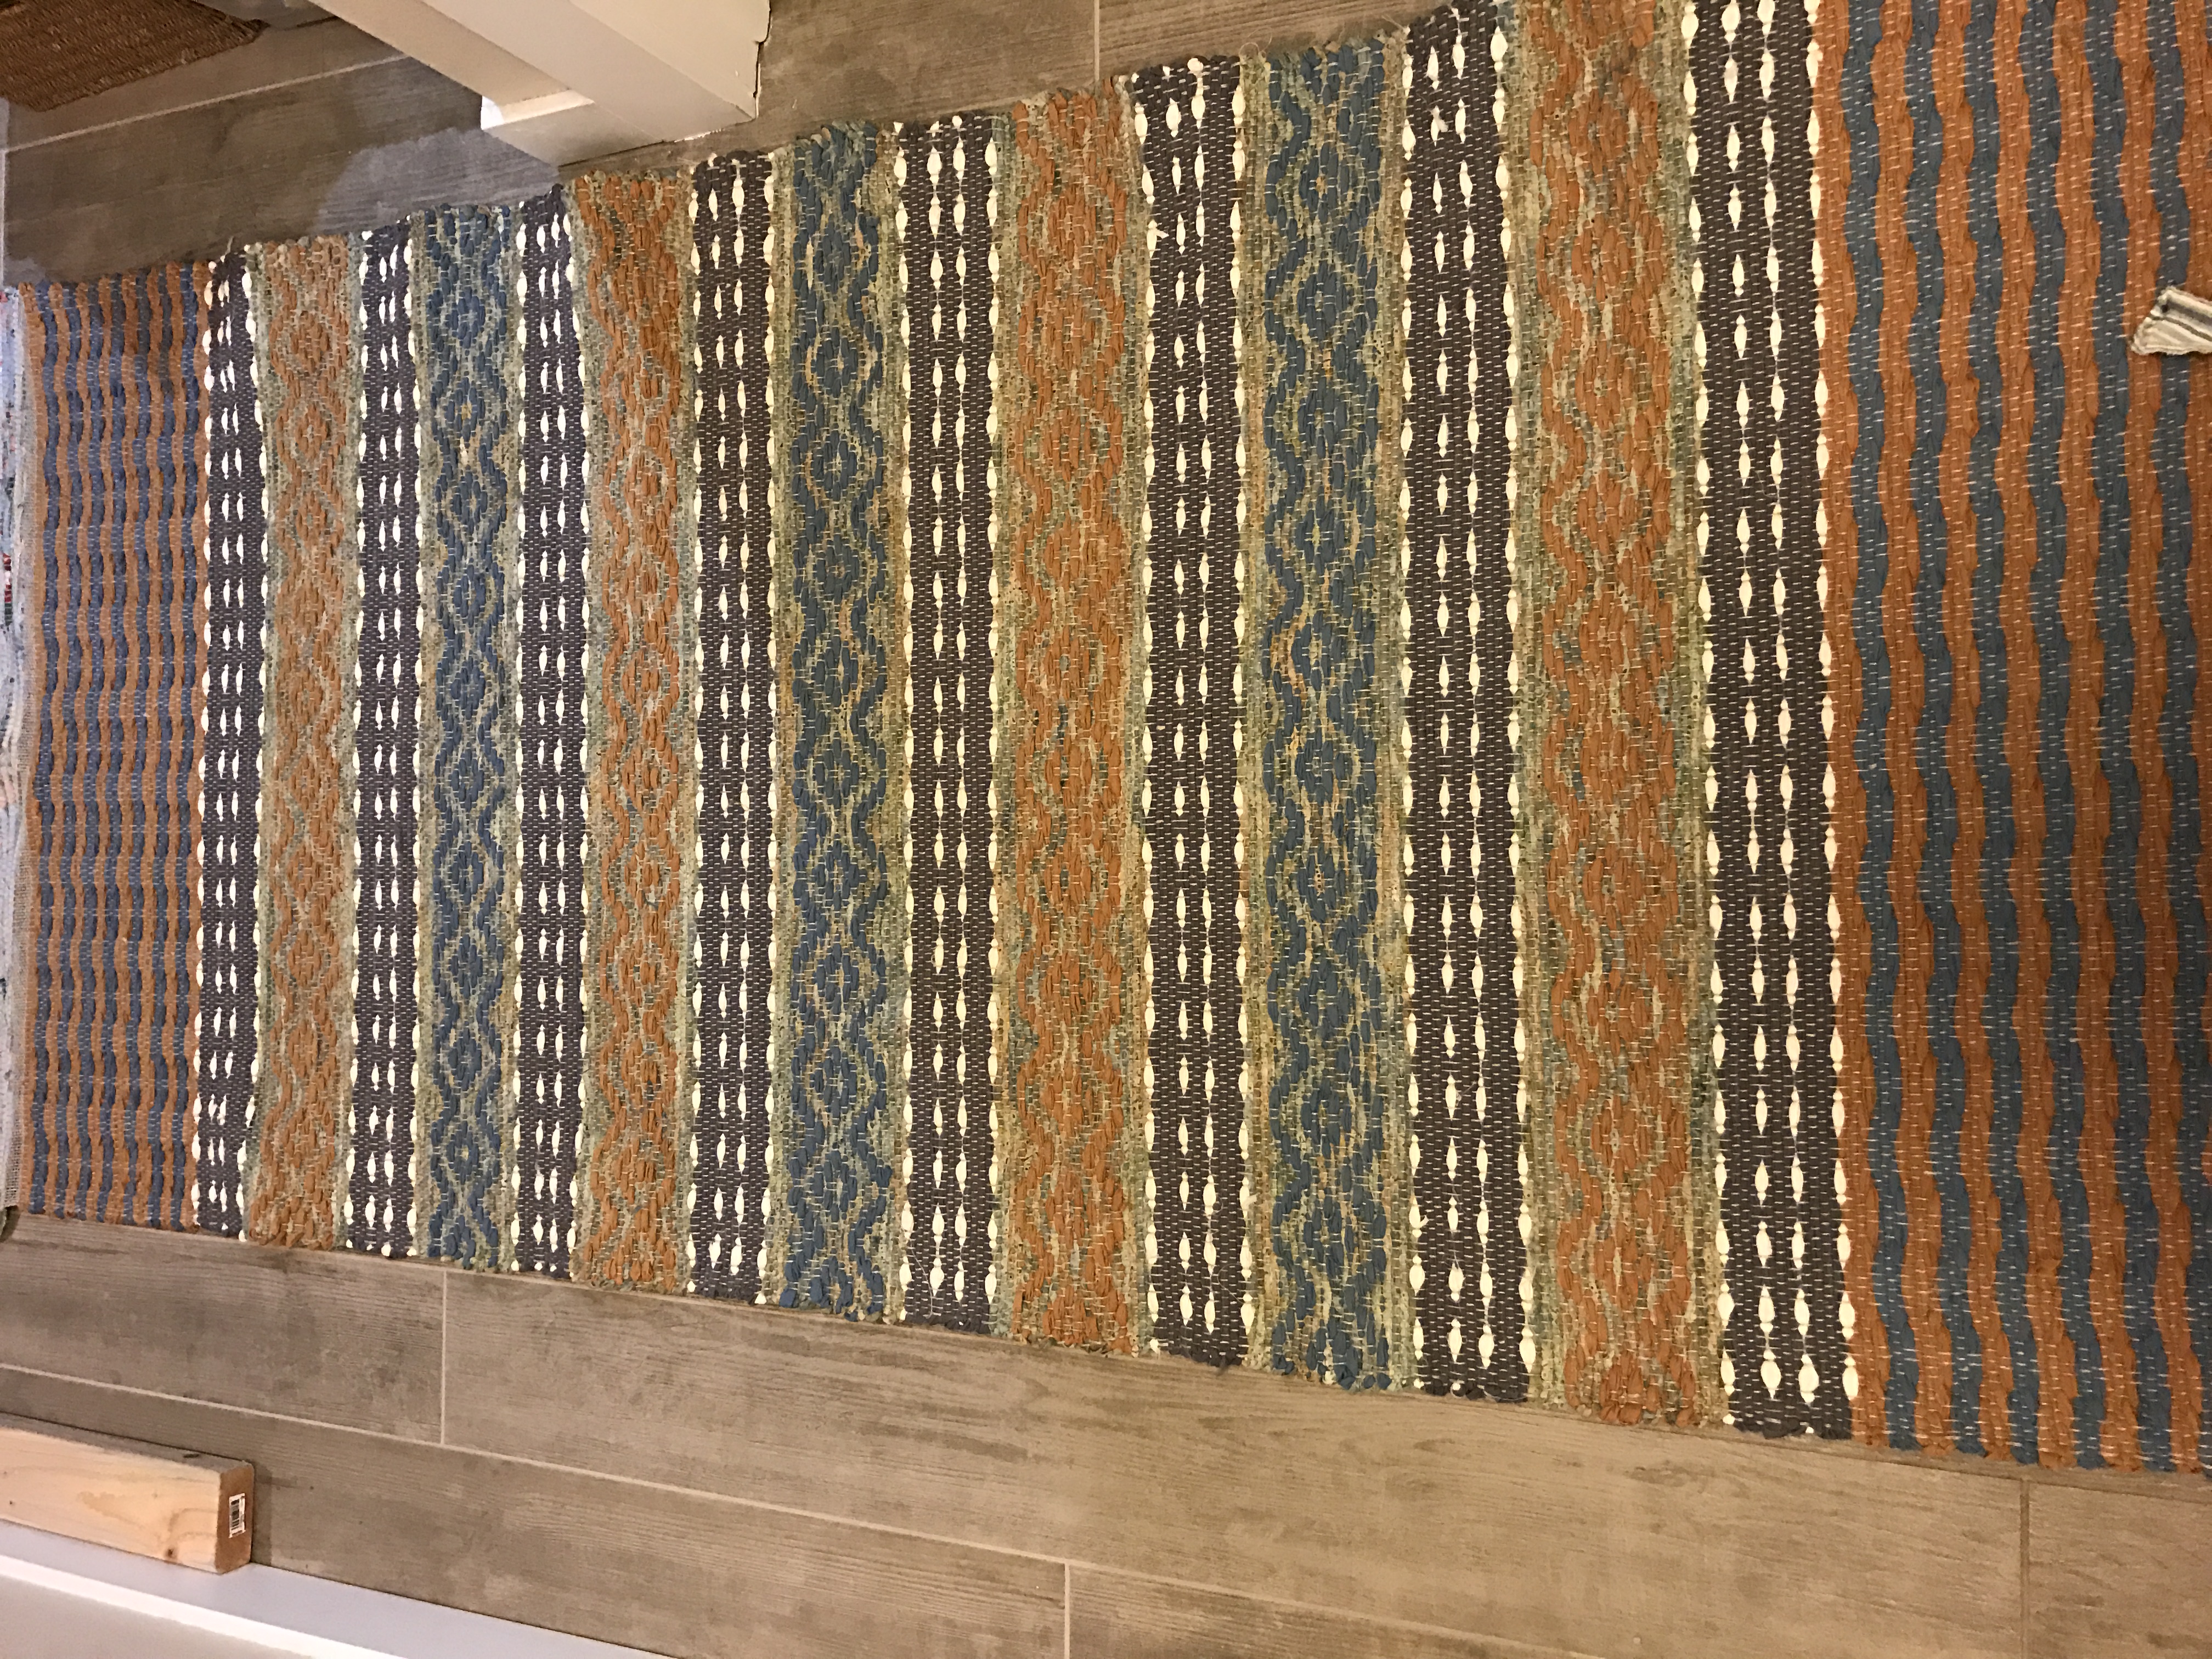
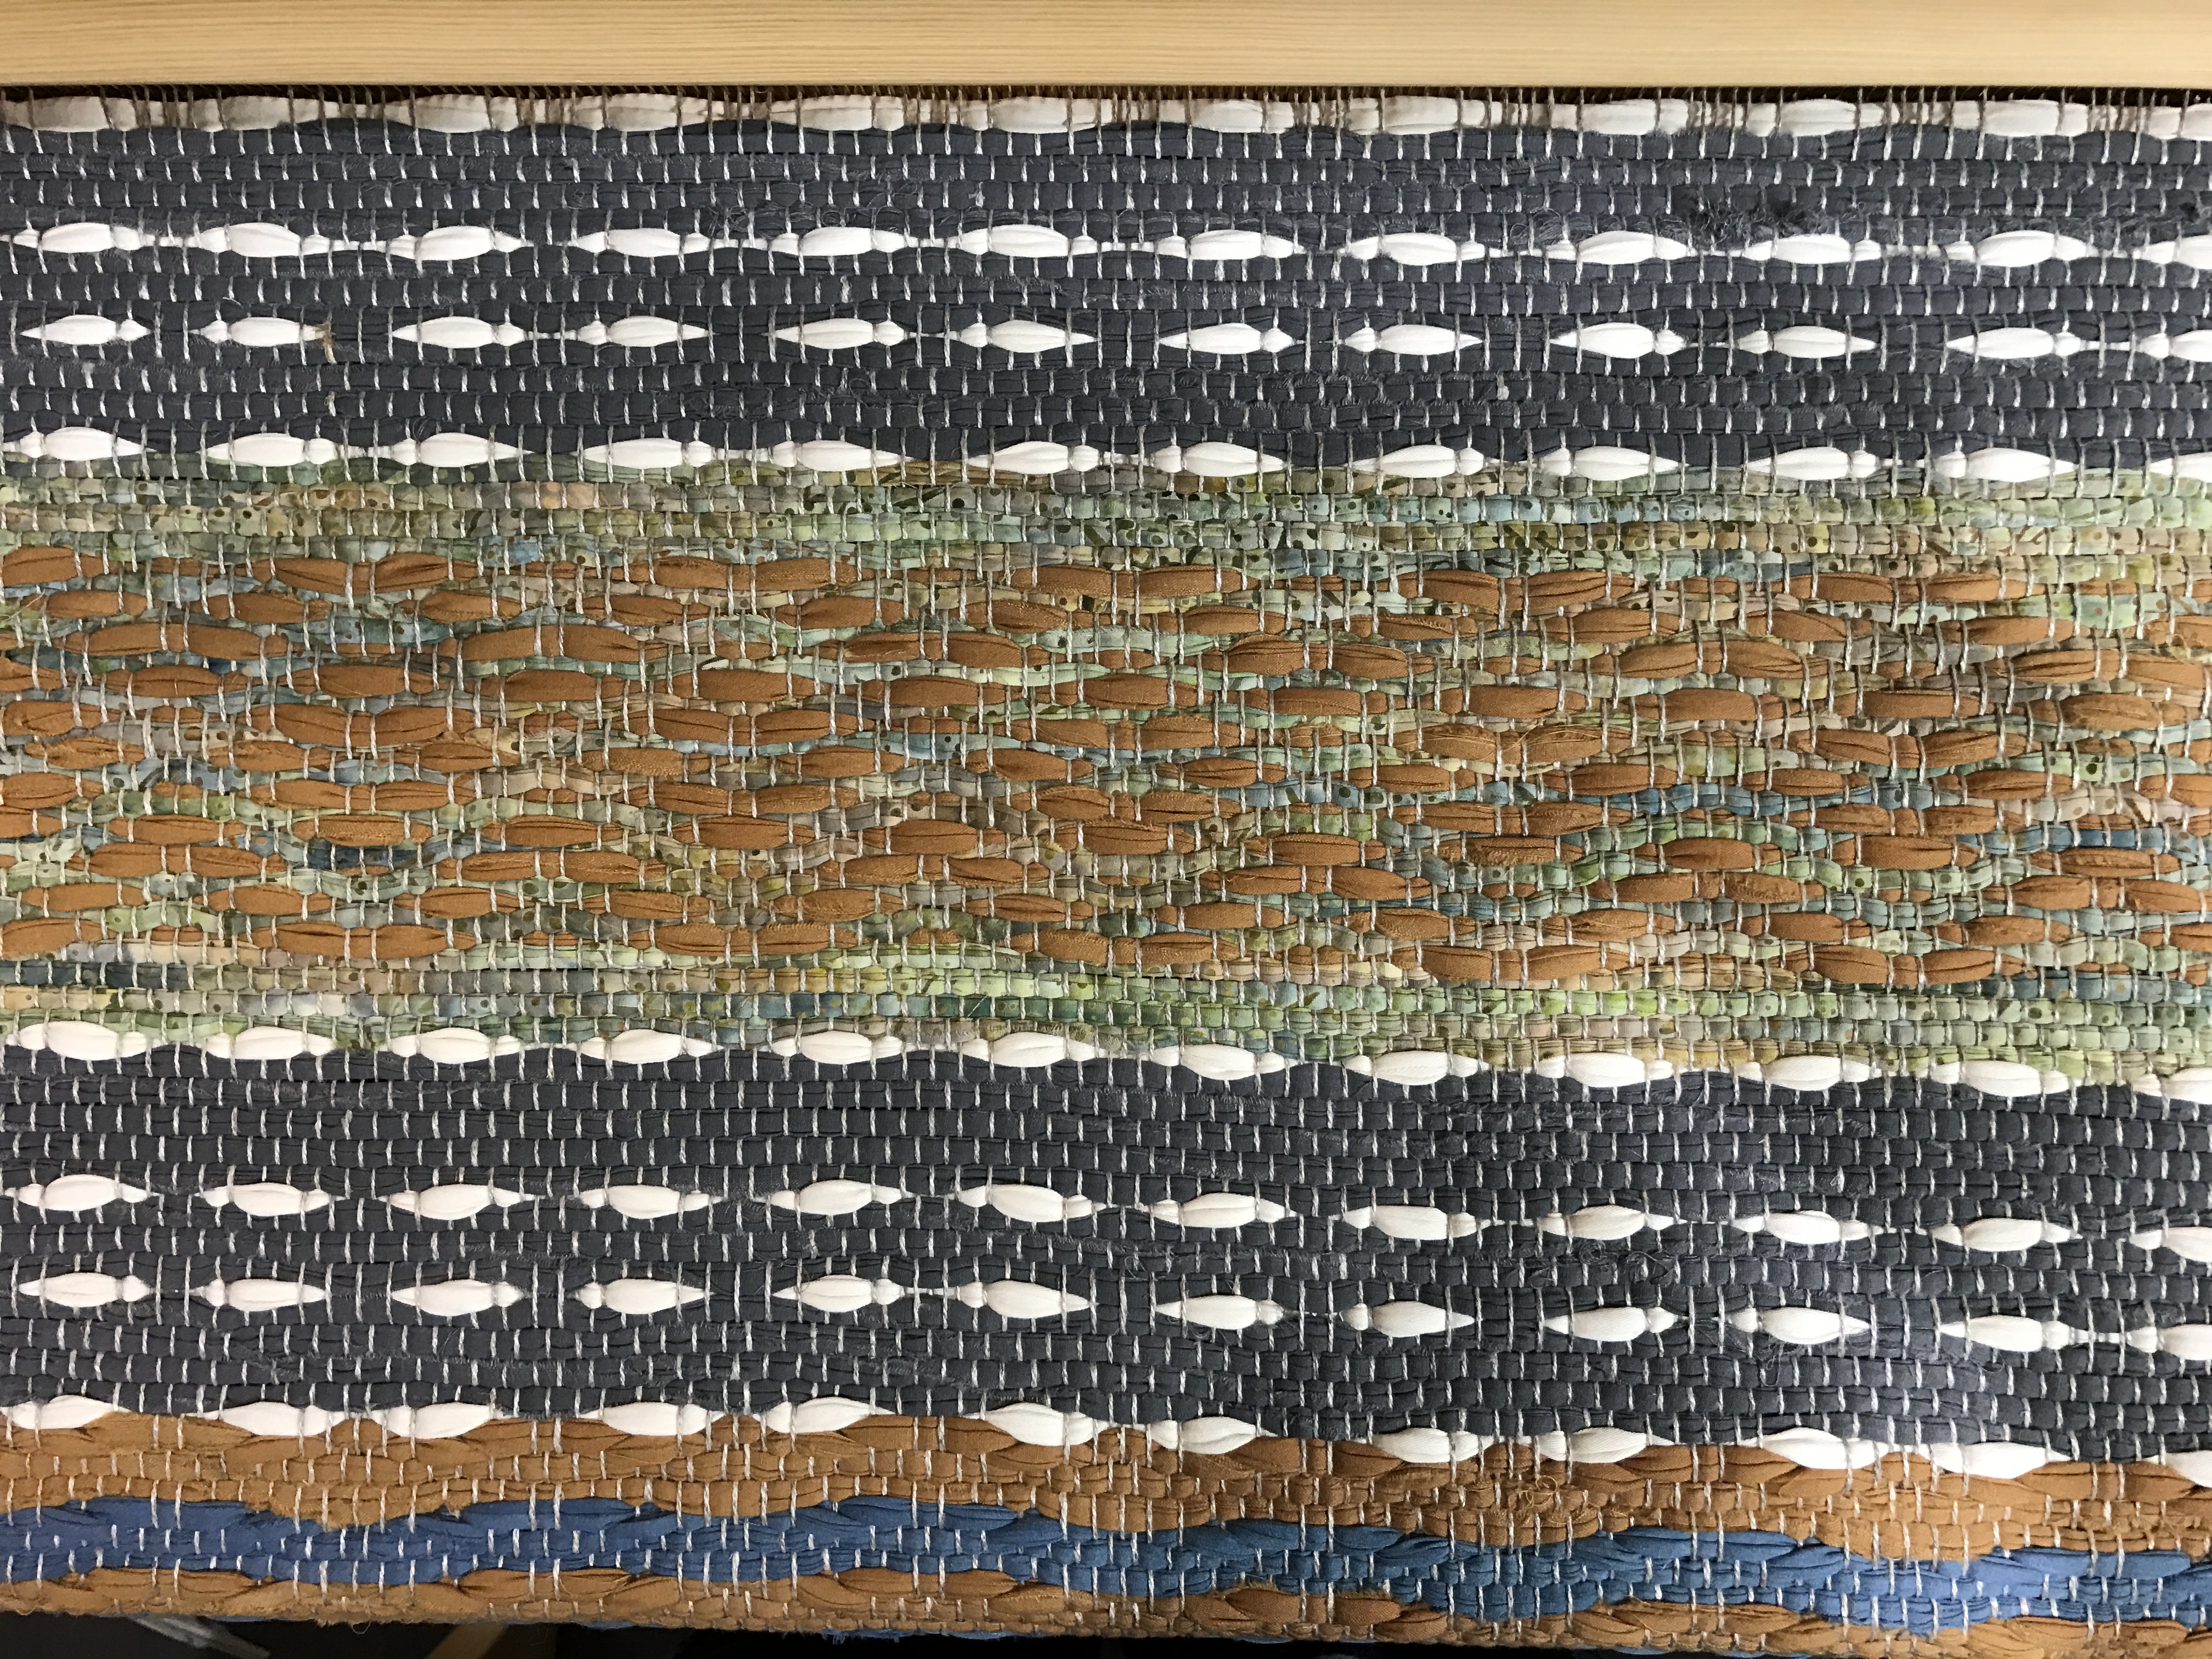
The batik is in the rose path sections. Initially I considered alternating the batik as the ground and the gold as the pattern pick, but then I decided on using the blue and gold exclusively in the wave border. Decided it made more sense to pull it together and alternate the blue and gold as well on the batik ground for the rose path.
I left the warp on so I can tie on the panels. I decided I’m doing both panels together (for fun) and will tie one on the one side and the other on the other side with a gap in the middle to make passing the double shuttles a little easier. This will speed up (maybe?) weaving, but more importantly will ensure I beat the two panels evenly and hopefully (fingers crossed) they will line up at the very least.
Also, my thinking is that this way if the whole thing is bust and I can’t line up the center panels and the sides, I can at least join the side panels into a skinny runner.